If you want to make website management easier, enabling SSI on a cPanel domain is a game-changer. Server-Side Includes (SSI) allow you to insert reusable elements like headers, footers, or navigation menus across multiple web pages. This eliminates the need to manually update each page whenever changes are required.
In this comprehensive guide, we’ll walk you through how to enable SSI on a cPanel domain, configure .htaccess, and troubleshoot common issues. By the end of this tutorial, you’ll have SSI fully functional on your website.
What is Server-Side Includes (SSI)?
Server-Side Includes (SSI) is a simple scripting language that allows HTML pages to dynamically include content from other files. This is particularly useful for managing:
✅ Headers & Footers – Update site-wide content from a single file.
✅ Navigation Menus – Maintain a consistent structure across pages.
✅ Dynamic Content – Display real-time data such as timestamps.
✅ Code Reusability – Reduce redundant coding and improve efficiency.
SSI processes files before sending them to the browser, making it an excellent lightweight alternative to PHP for simple content inclusion.
Why Should You Enable SSI on a cPanel Domain?
If you manage multiple pages on your website, manually updating every page can be time-consuming. Here’s why enabling SSI in cPanel is beneficial:
🔹 Effortless Content Updates
Instead of modifying every page individually, SSI allows you to update a single file, automatically reflecting changes across your entire website.
🔹 Faster Website Management
Since repetitive HTML coding is eliminated, your site remains structured and easier to manage.
🔹 Improved Performance
By reducing duplicate content and unnecessary load times, your website can process requests more efficiently.

How to Enable SSI on a cPanel Domain – Step-by-Step Guide
Step 1: Log in to Your cPanel Account
- Open your web browser and go to yourdomain.com/cpanel.
- Enter your username and password.
- Click Log In to access your cPanel dashboard.
Step 2: Enable SSI via .htaccess File
The .htaccess file is a crucial configuration file that helps enable SSI on a cPanel domain.
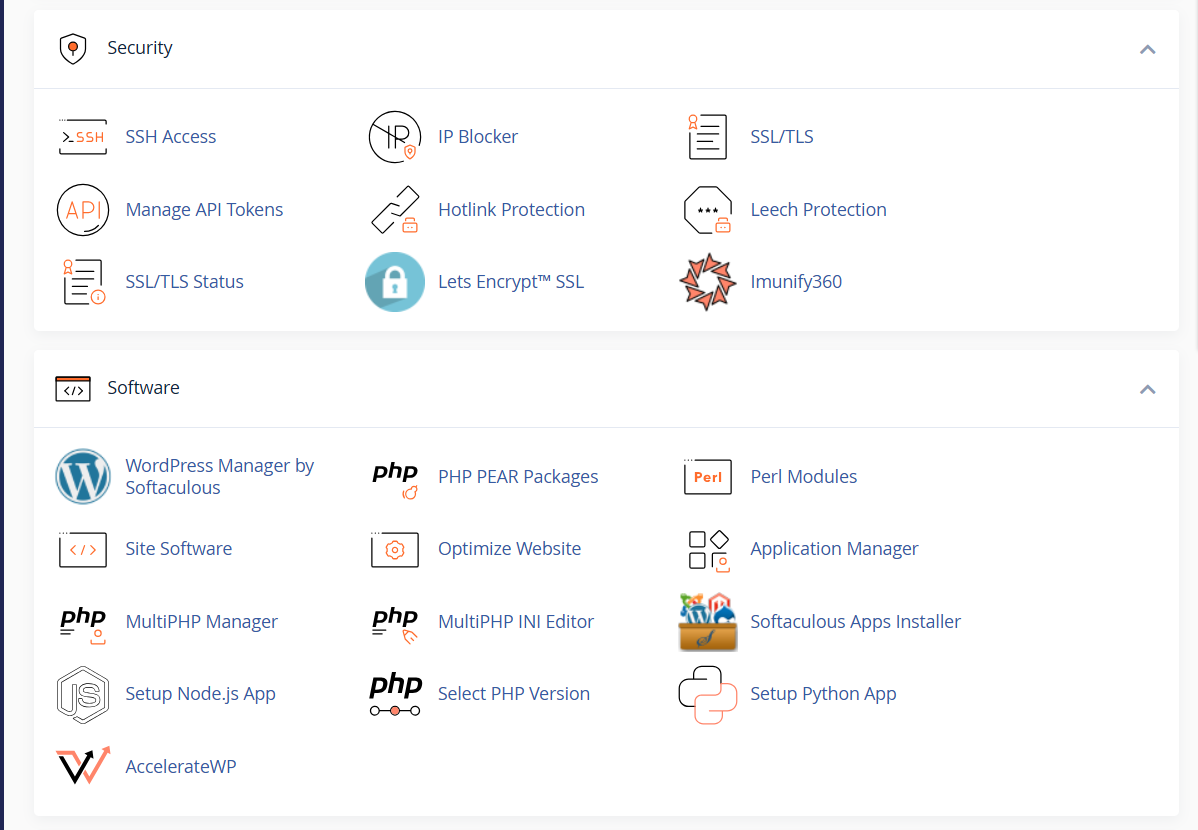
- In cPanel, locate and click on File Manager.
- Navigate to the public_html directory (or the root folder of your website).
- Find the
.htaccessfile. If it doesn’t exist, create a new file and name it.htaccess. - Open the
.htaccessfile and add the following lines:apacheCopyEditAddType text/html .shtml AddHandler server-parsed .shtml Options +Includes - Click Save Changes and close the file.
Step 3: Rename or Create SSI-Compatible Files
For SSI to work, your web pages must use the .shtml extension instead of .html.
- If your files are named
index.html, rename them toindex.shtml. - If creating a new file, save it with the
.shtmlextension.
This step ensures your web server processes the file for SSI directives.
Step 4: Add SSI Directives to Your Web Pages
Now that you’ve enabled SSI, you need to insert SSI directives into your web pages to include content dynamically.
🔹 Including a Header or Footer
To insert a common header or footer into multiple pages, use the following code inside your .shtml file:
htmlCopyEdit<!--#include virtual="header.html" -->
htmlCopyEdit<!--#include virtual="footer.html" -->
This code tells the server to fetch and display the content of header.html or footer.html.
🔹 Displaying the Last Modified Date
To show the last modified date of a page, use:
htmlCopyEdit<!--#echo var="LAST_MODIFIED" -->
🔹 Adding Conditional Statements
You can use conditional logic in SSI. For example:
htmlCopyEdit<!--#if expr="${REMOTE_ADDR} = /192\.168\..*/" -->
   Welcome, Admin!
<!--#else -->
   Welcome, Guest!
<!--#endif -->
This displays a different message based on the visitor’s IP address.
Step 5: Testing Your SSI Configuration
- Open your browser and visit one of your
.shtmlpages. - If the included content appears as expected, SSI is successfully enabled.
- If nothing displays or the directives show as plain text, revisit your
.htaccessfile and file paths.
Common Issues & Troubleshooting SSI on a cPanel Domain
❌ Problem 1: SSI Not Working
✅ Solution: Ensure your .htaccess file contains the correct directives (Options +Includes).
❌ Problem 2: ‘File Not Found’ Error
✅ Solution: Check that the file referenced in the #include directive exists in the correct directory.
❌ Problem 3: SSI Directives Display as Plain Text
✅ Solution: Your web server might not be processing .shtml files. Verify that SSI is enabled by checking your server configuration.
Best Practices for Using SSI on a cPanel Domain
- Always test your
.shtmlpages before deployment. - Use relative paths for #include directives to avoid broken links.
- Avoid excessive SSI usage on high-traffic sites to reduce server load.
- Implement caching for static content to improve performance.
Final Thoughts
Enabling SSI on a cPanel domain is a straightforward yet powerful way to manage and update multiple web pages efficiently. Whether you’re maintaining a static website or streamlining content updates, SSI in cPanel can save you time and effort.
By following this step-by-step guide, you’ve successfully learned how to:
✅ Configure SSI using .htaccess.
✅ Use SSI directives for dynamic content.
✅ Troubleshoot common SSI issues.
FAQs – How to Enable SSI on a cPanel Domain
What is SSI in cPanel?
SSI (Server-Side Includes) is a feature that allows you to dynamically insert reusable content (e.g., headers, footers, and navigation menus) into multiple web pages without manually updating each one. This makes website management more efficient.
Why should I enable SSI on my cPanel domain?
Enabling SSI in cPanel allows you to:
✅ Automate content updates across multiple pages.
✅ Reduce repetitive HTML coding.
✅ Improve site performance by minimizing duplicate content.
How do I know if my server supports SSI?
Most Apache-based hosting servers (which cPanel typically runs on) support SSI by default. You can check by:
Creating a test .shtml file with an SSI directive.
Loading it in a browser to see if the included content appears.
Checking .htaccess for Options +Includes settings.
Can I use SSI on .html files instead of .shtml?
By default, SSI only works with .shtml files. However, you can modify the .htaccess file to allow .html files to process SSI by adding:
apache
Copy
Edit
AddHandler server-parsed .html
Options +Includes
Why is my SSI code showing as plain text instead of working?
Possible reasons:
❌ SSI is not enabled – Ensure .htaccess contains Options +Includes.
❌ Incorrect file extension – Change .html files to .shtml.
❌ Wrong include path – Check that the referenced file exists.
Can I use PHP and SSI together on my cPanel website?
Yes! You can mix PHP and SSI, but since PHP is more powerful, many developers prefer using PHP for dynamic content.
Does enabling SSI affect website performance?
For small to medium-sized websites, SSI has minimal impact on performance. However, excessive SSI calls on high-traffic sites may slow down processing. Consider using caching mechanisms if needed.
Why Choose RankHostie for the Best Web Hosting? 🚀
Looking for fast, secure, and reliable web hosting? RankHostie has got you covered! Whether you’re launching a new website or upgrading your hosting plan, we provide:
✅ Blazing-Fast Servers – Enjoy ultra-fast loading speeds.
✅ 99.9% Uptime Guarantee – Keep your website online 24/7.
✅ Free SSL & Security – Protect your data and visitors.
✅ 24/7 Expert Support – Get help whenever you need it.
✅ Affordable Plans – Premium hosting at budget-friendly prices.
🔥 Get Started Today! Choose the perfect hosting plan for your website and experience the best hosting with RankHostie!
👉 Sign Up Now & Boost Your Website’s Performance! 🚀